Platform
You can borrow two different development kits from the Hackathon organizers:
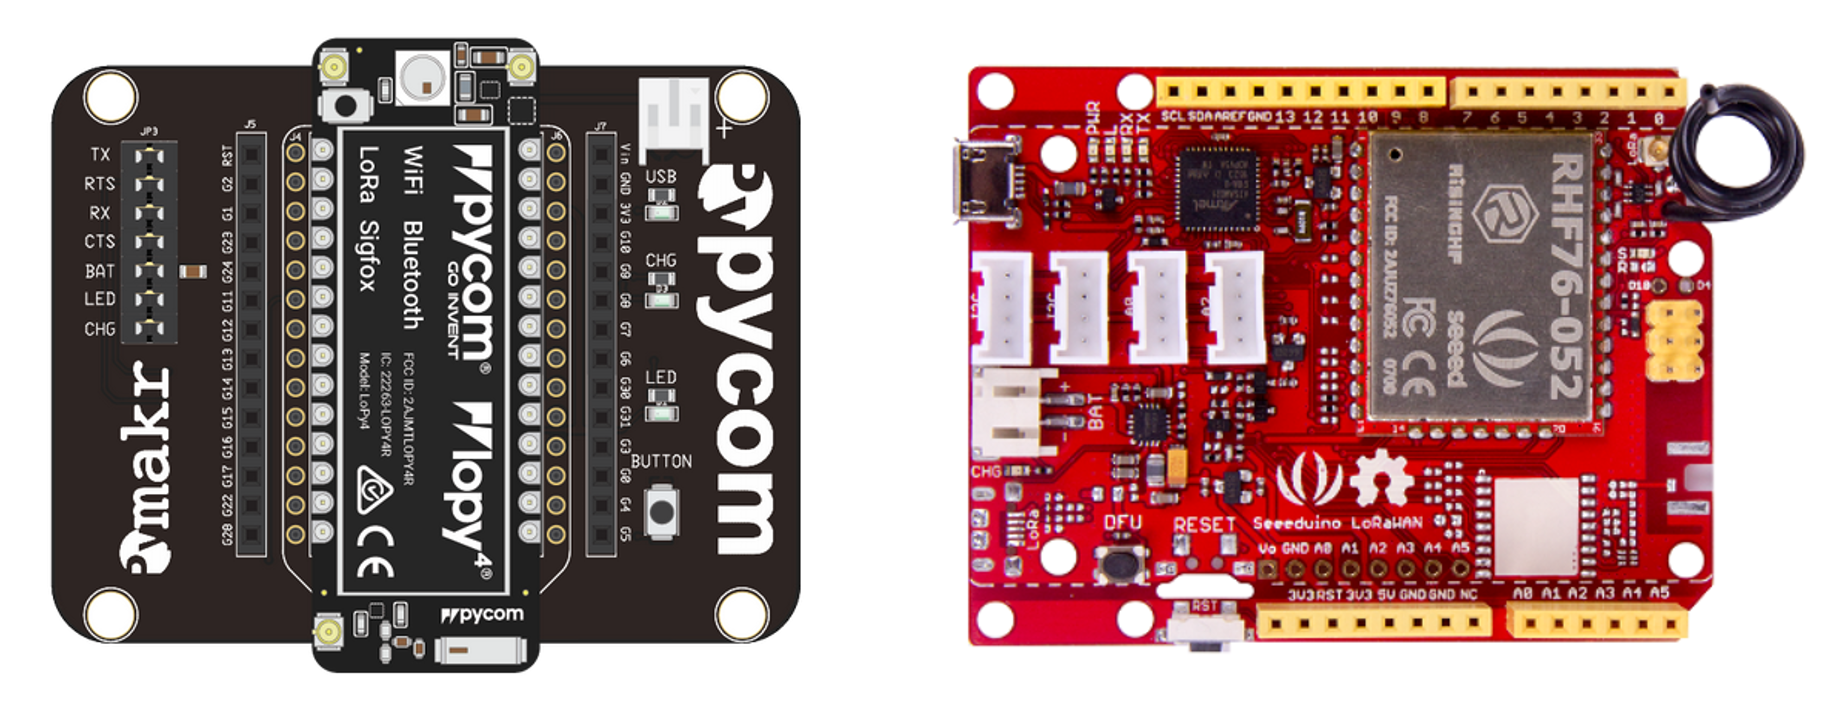
- Pycom LoPy4 with Expansion Board (for those who are more skilled in python);
- Seeeduino LoRaWAN with Screw Shield (for those who like C coding).
Either the first or the second device come with a username, a password, a database name, a device EUI, a device address, a network session key, and an application session key, which are needed to connect to the network and to the InfluxDB database.
Choose your platform: Pycom or Seeeduino?
Getting started with Pycom
If you decided to work with Pycom, make it sure to:
- have Atom or Visual Studio Code installed;
- follow this guide to install the pymakr plugin and to setup the serial USB connection (COM port);
- create a project folder on your Desktop;
- open the project folder with Atom or Visual Studio and create a new file named main.py in it;
- copy and paste the following piece of code inside the file;
- insert your DEV ADDR, NWKSKEY, and APPSKEY in place of XXXXXXXX;
- save the script;
- click the Upload button in the editor to flash your Pycom board.
The following script is released under GPLv3+, as it comes from pieces of coding released by Pycom with the same license (see link).
"""Copyright (C) 2018  Eurac Research - Center for Sensing Solutions
This program is free software; you can redistribute it and/or modify
it under the terms of the GNU General Public License as published by
the Free Software Foundation; either version 3 of the License, or
(at your option) any later version.
This program is distributed in the hope that it will be useful,
but WITHOUT ANY WARRANTY; without even the implied warranty of
MERCHANTABILITY or FITNESS FOR A PARTICULAR PURPOSE.  See the
GNU General Public License for more details.
You should have received a copy of the GNU General Public License
along with this program; if not, write to the Free Software Foundation,
Inc., 51 Franklin Street, Fifth Floor, Boston, MA 02110-1301  USA"""

import time
import pycom
import struct
import socket
import ubinascii
from network import LoRa

pycom.heartbeat(False) # Initialise built-in LED

# Initialise LoRa in LORAWAN mode
lora = LoRa(mode=LoRa.LORAWAN, device_class=LoRa.CLASS_C)

# Create an ABP authentication
dev_addr = struct.unpack(">l", ubinascii.unhexlify('XXXXXXXX'))[0] # your device address here
nwk_swkey = ubinascii.unhexlify('XXXXXXXXXXXXXXXXXXXXXXXXXXXXXXXX') # your network session key here
app_swkey = ubinascii.unhexlify('XXXXXXXXXXXXXXXXXXXXXXXXXXXXXXXX') # your application session key here

# Join the network using ABP (Activation By Personalisation)
lora.join(activation=LoRa.ABP, auth=(dev_addr, nwk_swkey, app_swkey))

# Remove all the non-default channels
for i in range(3, 16):
    lora.remove_channel(i)

# Set the 3 default channels to the same frequency
lora.add_channel(0, frequency=868100000, dr_min=0, dr_max=5)
lora.add_channel(1, frequency=868100000, dr_min=0, dr_max=5)
lora.add_channel(2, frequency=868100000, dr_min=0, dr_max=5)

""" Your own code can be written below! """

# uplink sending and downlink receiving
i = 0;
while(True):

    s = socket.socket(socket.AF_LORA, socket.SOCK_RAW) # create a LoRa socket
    s.setsockopt(socket.SOL_LORA, socket.SO_DR, 5) # set the LoRaWAN data rate
    s.setblocking(False) # make the socket non-blocking

    i +=1
    # uplink sending
    pkt = b'PKT #' + str(i)
    s.send(pkt)
    print(pkt + " sent")
    time.sleep(6) # this dead-time is needed by the network to gather to your LoRa packets

    # LED blinking
    pycom.rgbled(0x000033)
    time.sleep(1)
    pycom.rgbled(0x000000)

    # downlink receiving
    rx, port = s.recvfrom(4096)
    if rx:
        print('Received: {}, on port: {}'.format(rx, port))

    s.close() # close the LoRa socket
Now, your device should be sending LoRa packets (uplinks) toward the LoRaWAN gateway. Please, refer to the Hackathon organizers to check if everything is properly set.
Note
If you need your data to be stored locally on the pycom node, please ask for a micro SD card to the organizers. You can also ask for a Lipo battery pack, if needed for you application.
To set up the network so that acknowledgments (downlinks) are sent back to the node, move on to the Application tab.
Getting started with Seeeduino
If you decided to work with Seeeduino, you simply need to:
- download the Arduino IDE;
- download the Driver for Seeeduino LoRaWAN from this page and follow the steps to connect the Seeeduino via USB (COM port);
- open the Arduino IDE and create a new file and save it as main;
- copy and paste the following piece of code inside the file;
- replace the XXXXXXXX with your NWKSKEY and then save the script;
- upload the script to the Seeeduino by clicking the right-handed arrow top left in the IDE;
- open the serial monitor via the top left icon of the IDE.
The Seeeduino script is released under GPLv3+.
"""Copyright (C) 2018  Eurac Research - Center for Sensing Solutions
This program is free software; you can redistribute it and/or modify
it under the terms of the GNU General Public License as published by
the Free Software Foundation; either version 3 of the License, or
(at your option) any later version.
This program is distributed in the hope that it will be useful,
but WITHOUT ANY WARRANTY; without even the implied warranty of
MERCHANTABILITY or FITNESS FOR A PARTICULAR PURPOSE.  See the
GNU General Public License for more details.
You should have received a copy of the GNU General Public License
along with this program; if not, write to the Free Software Foundation,
Inc., 51 Franklin Street, Fifth Floor, Boston, MA 02110-1301  USA"""

#include <LoRaWan.h>
#include <stdlib.h>

char buffer[256];
char pkt[6];

int j = 0;

void setup(void)
{
  pinMode(LED_BUILTIN, OUTPUT); // Initialise the built-in LED

  SerialUSB.begin(115200);
  while(!SerialUSB);

  // Initialise the LoRa module
  lora.init();

  memset(buffer, 0, 256);
  lora.getVersion(buffer, 256, 1);
  SerialUSB.print(buffer);

  memset(buffer, 0, 256);
  lora.getId(buffer, 256, 1);
  SerialUSB.print(buffer);

  // create an ABP authentication
  lora.setKey("XXXXXXXXXXXXXXXXXXXXXXXXXXXXXXXX", "XXXXXXXXXXXXXXXXXXXXXXXXXXXXXXXX", "XXXXXXXXXXXXXXXXXXXXXXXXXXXXXXXX"); // your network session key here (three times)
  lora.setDeciveMode(LWABP);
  lora.setDataRate(DR0, EU868);

  //Set the 3 default channels
  lora.setChannel(0, 868.1);
  lora.setChannel(1, 868.3);
  lora.setChannel(2, 868.5);

  lora.setReceiceWindowFirst(0, 868.1);
  lora.setReceiceWindowSecond(869.5, DR3);

  lora.setDutyCycle(false);
  lora.setJoinDutyCycle(false);

  // Set the TX power
  // Set the TX power
  lora.setPower(14);
}

void loop(void)
{
  j = j+1;
  char strLitt[6] = "PKT #";
  char strNum[6];
  sprintf(strNum, "%d", j);
  String strFinal = strcat (strLitt,strNum);
  strFinal.toCharArray(pkt, 12);

  """ Your own code can be written below! """;

  short rssi;

  // uplink sending
  lora.transferPacket(pkt,6);

  digitalWrite(LED_BUILTIN, HIGH);   // turn the LED on (HIGH is the voltage level)
  delay(1000);                       // wait for a second
  digitalWrite(LED_BUILTIN, LOW);    // turn the LED off by making the voltage LOW

  // downlink receiving
  memset(buffer, 0, 256);
  lora.receivePacket(buffer, 256, &rssi);
  SerialUSB.println(buffer);
}
Now your device is sending LoRa packets (uplinks) to the LoRaWAN network. If necessary, ask the Hackathon organizers if everything is properly set.
Note
If you need your board to work autonomously, you can ask for a Lipo battery pack to the organizers.
To set up the network so that acknowledgments (downlinks) are sent back to the node, move on to the Application tab.

This work is licensed under a Creative Commons Attribution 4.0 International License.