User registration
In order to get access to the network, you need to register an account on the LoRaWAN portal. Please, follow these three steps:
-
click the Register button;
-
read and accept the disclaimer;
-
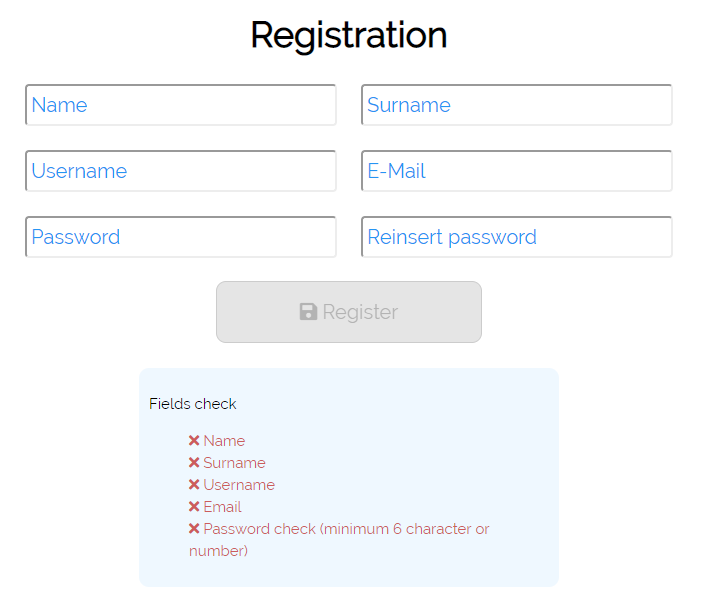
fill up the registration form with your name, surname, username, email and password (twice).
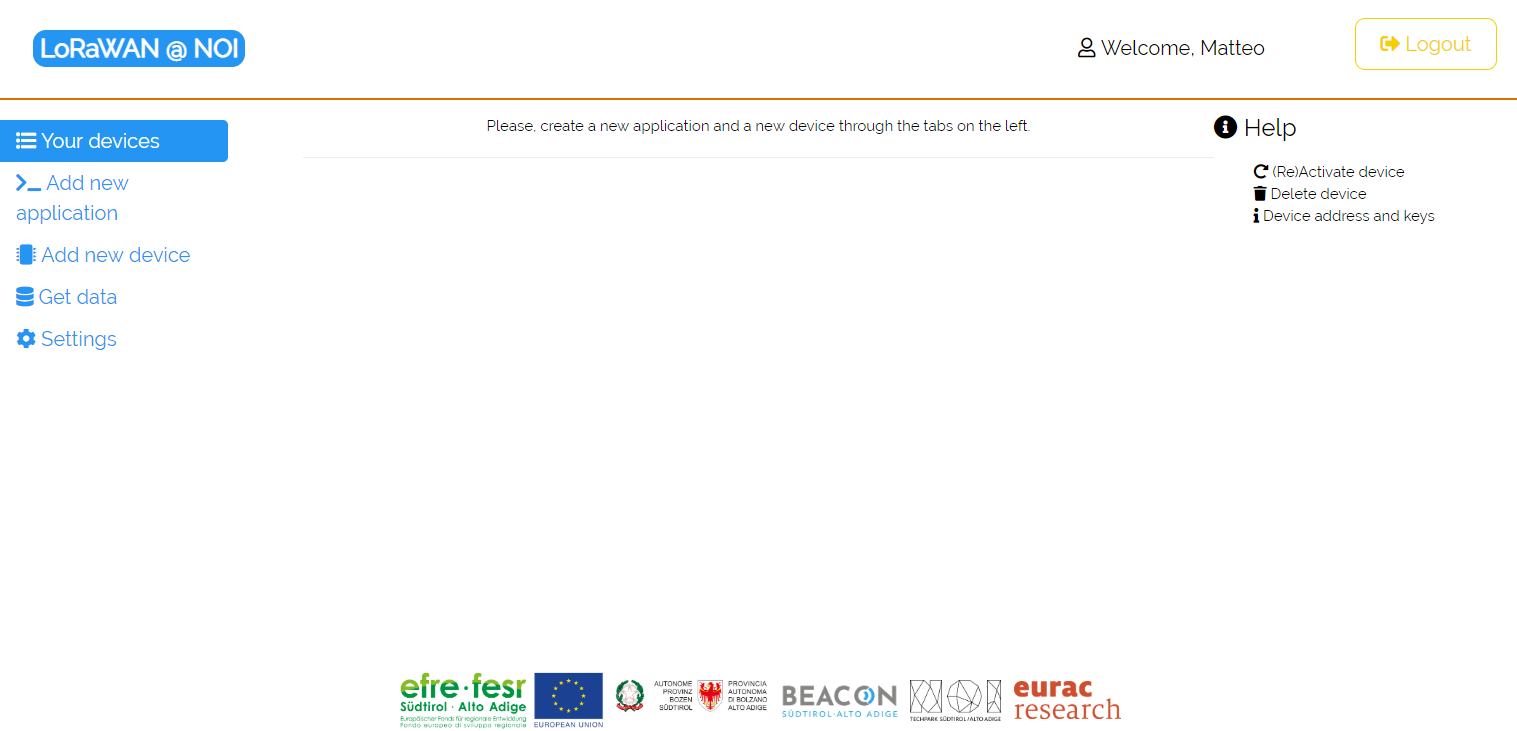
Now, you should have been redirected to the portal homepage for logging in. On the left side of the page, you can see different sections. The one you face after the log in lists all your devices, which by now is empty.
Add new application
In order to add a new device to the netowrk, first you have to create a new application (basically, a purpose or a context for the device(s) you want to add). Click on Add new application tab and start filling the Application name and the Application description.
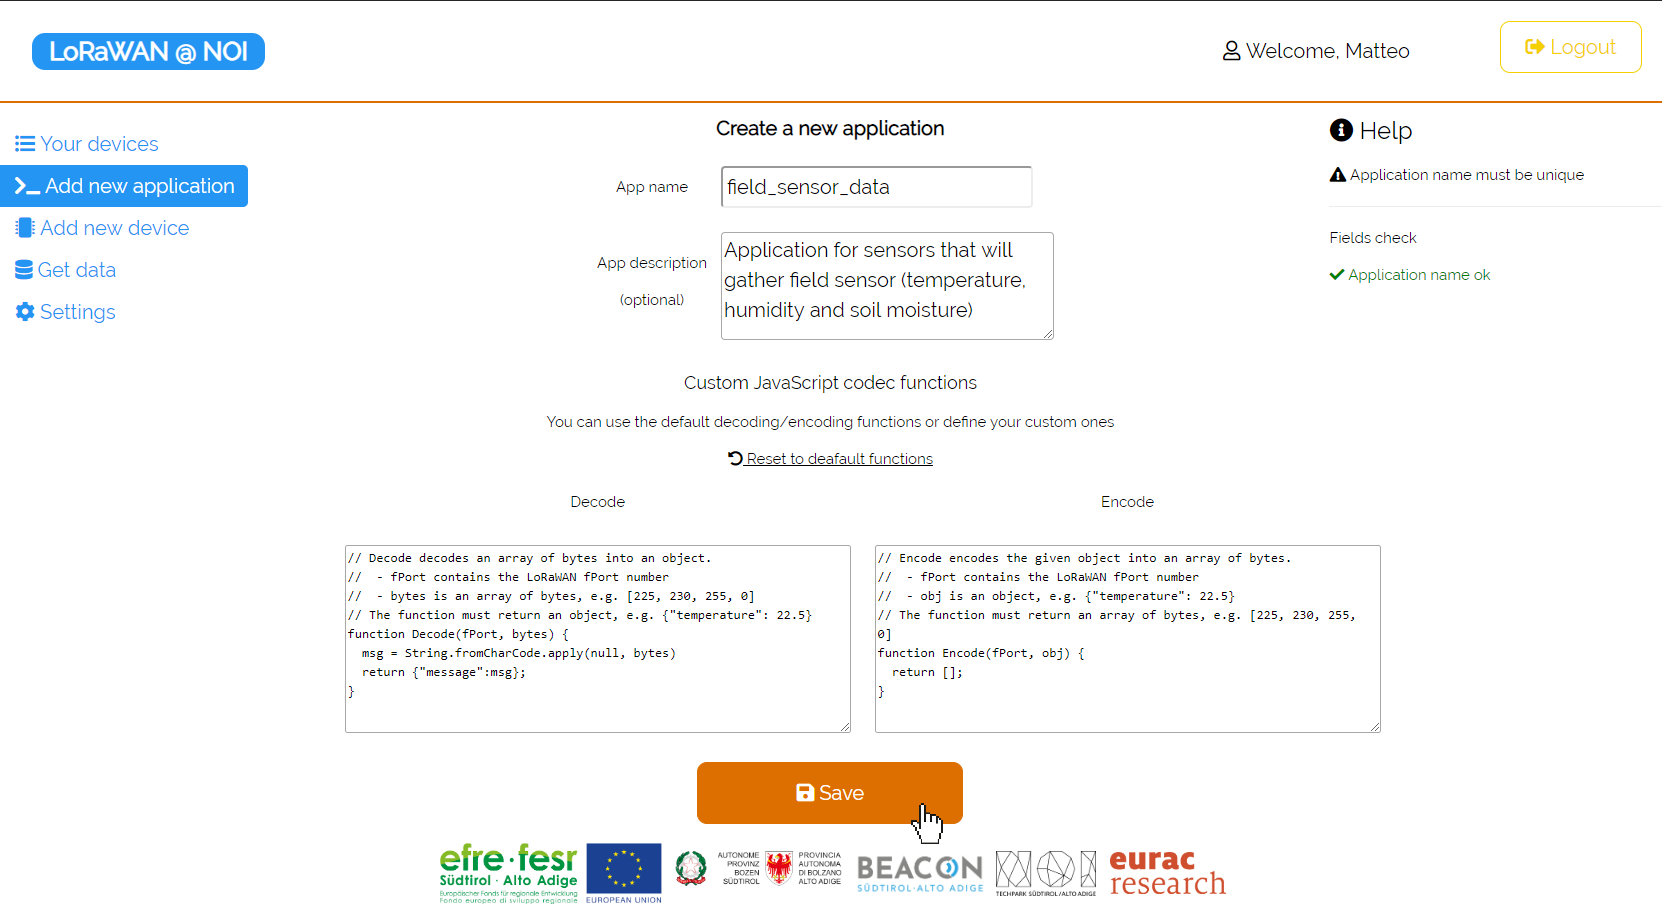
Once you are done, go ahead by pressing the Save button. A message should pop out on the right side of the page confirming the operation has been successfully concluded.
Note
You can also edit the decode and encode function, that will set how the packets are going to be encoded and decoded during the transmission over the LoRaWAN network.
Add new device
Now, we can move on to adding a new device. To do so, go to Add new device tab from the left menu. At first, you have to select the Application you want to add the new device to. Then, insert a Device name and its own Device description. After that, click the Generate randomly button, near the Device EUI field. This will create a brand new unique identifier for you end-node.
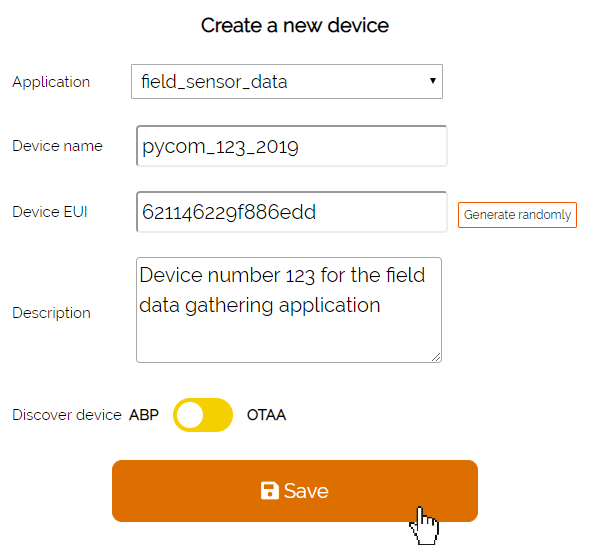
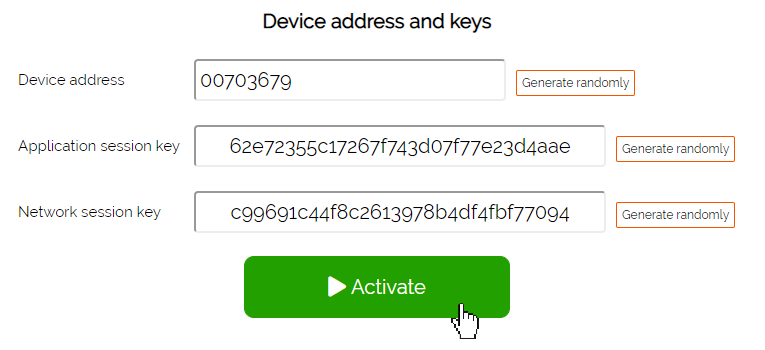
The Save button should redirect you to the next part of the device registration. Here, you see three different fields, namely Device address, Application session key and Network session key. Please, generate them randomly thorugh the push buttons on the right and finally Activate the device.
Note
This operation is not needed if your end-node already comes with precofigured Device Address, Application session key and Network session key. In this case, please fill the empty spaces with your codes and then push the Activate button.
You should now see that one new line has appeared under Your devices tab, which carries several information about the device you have just registered.

Now, you are ready for going ahead with the data retrieval from the API.

This work is licensed under a Creative Commons Attribution 4.0 International License.